It is the time of year for pumpkin pie. It is one of those desserts that seems odd if you have not had it before. Pumpkin savoury has a much different taste than pumpkin sweet, and that dissociation of the 2 flavours is what really throws people off.
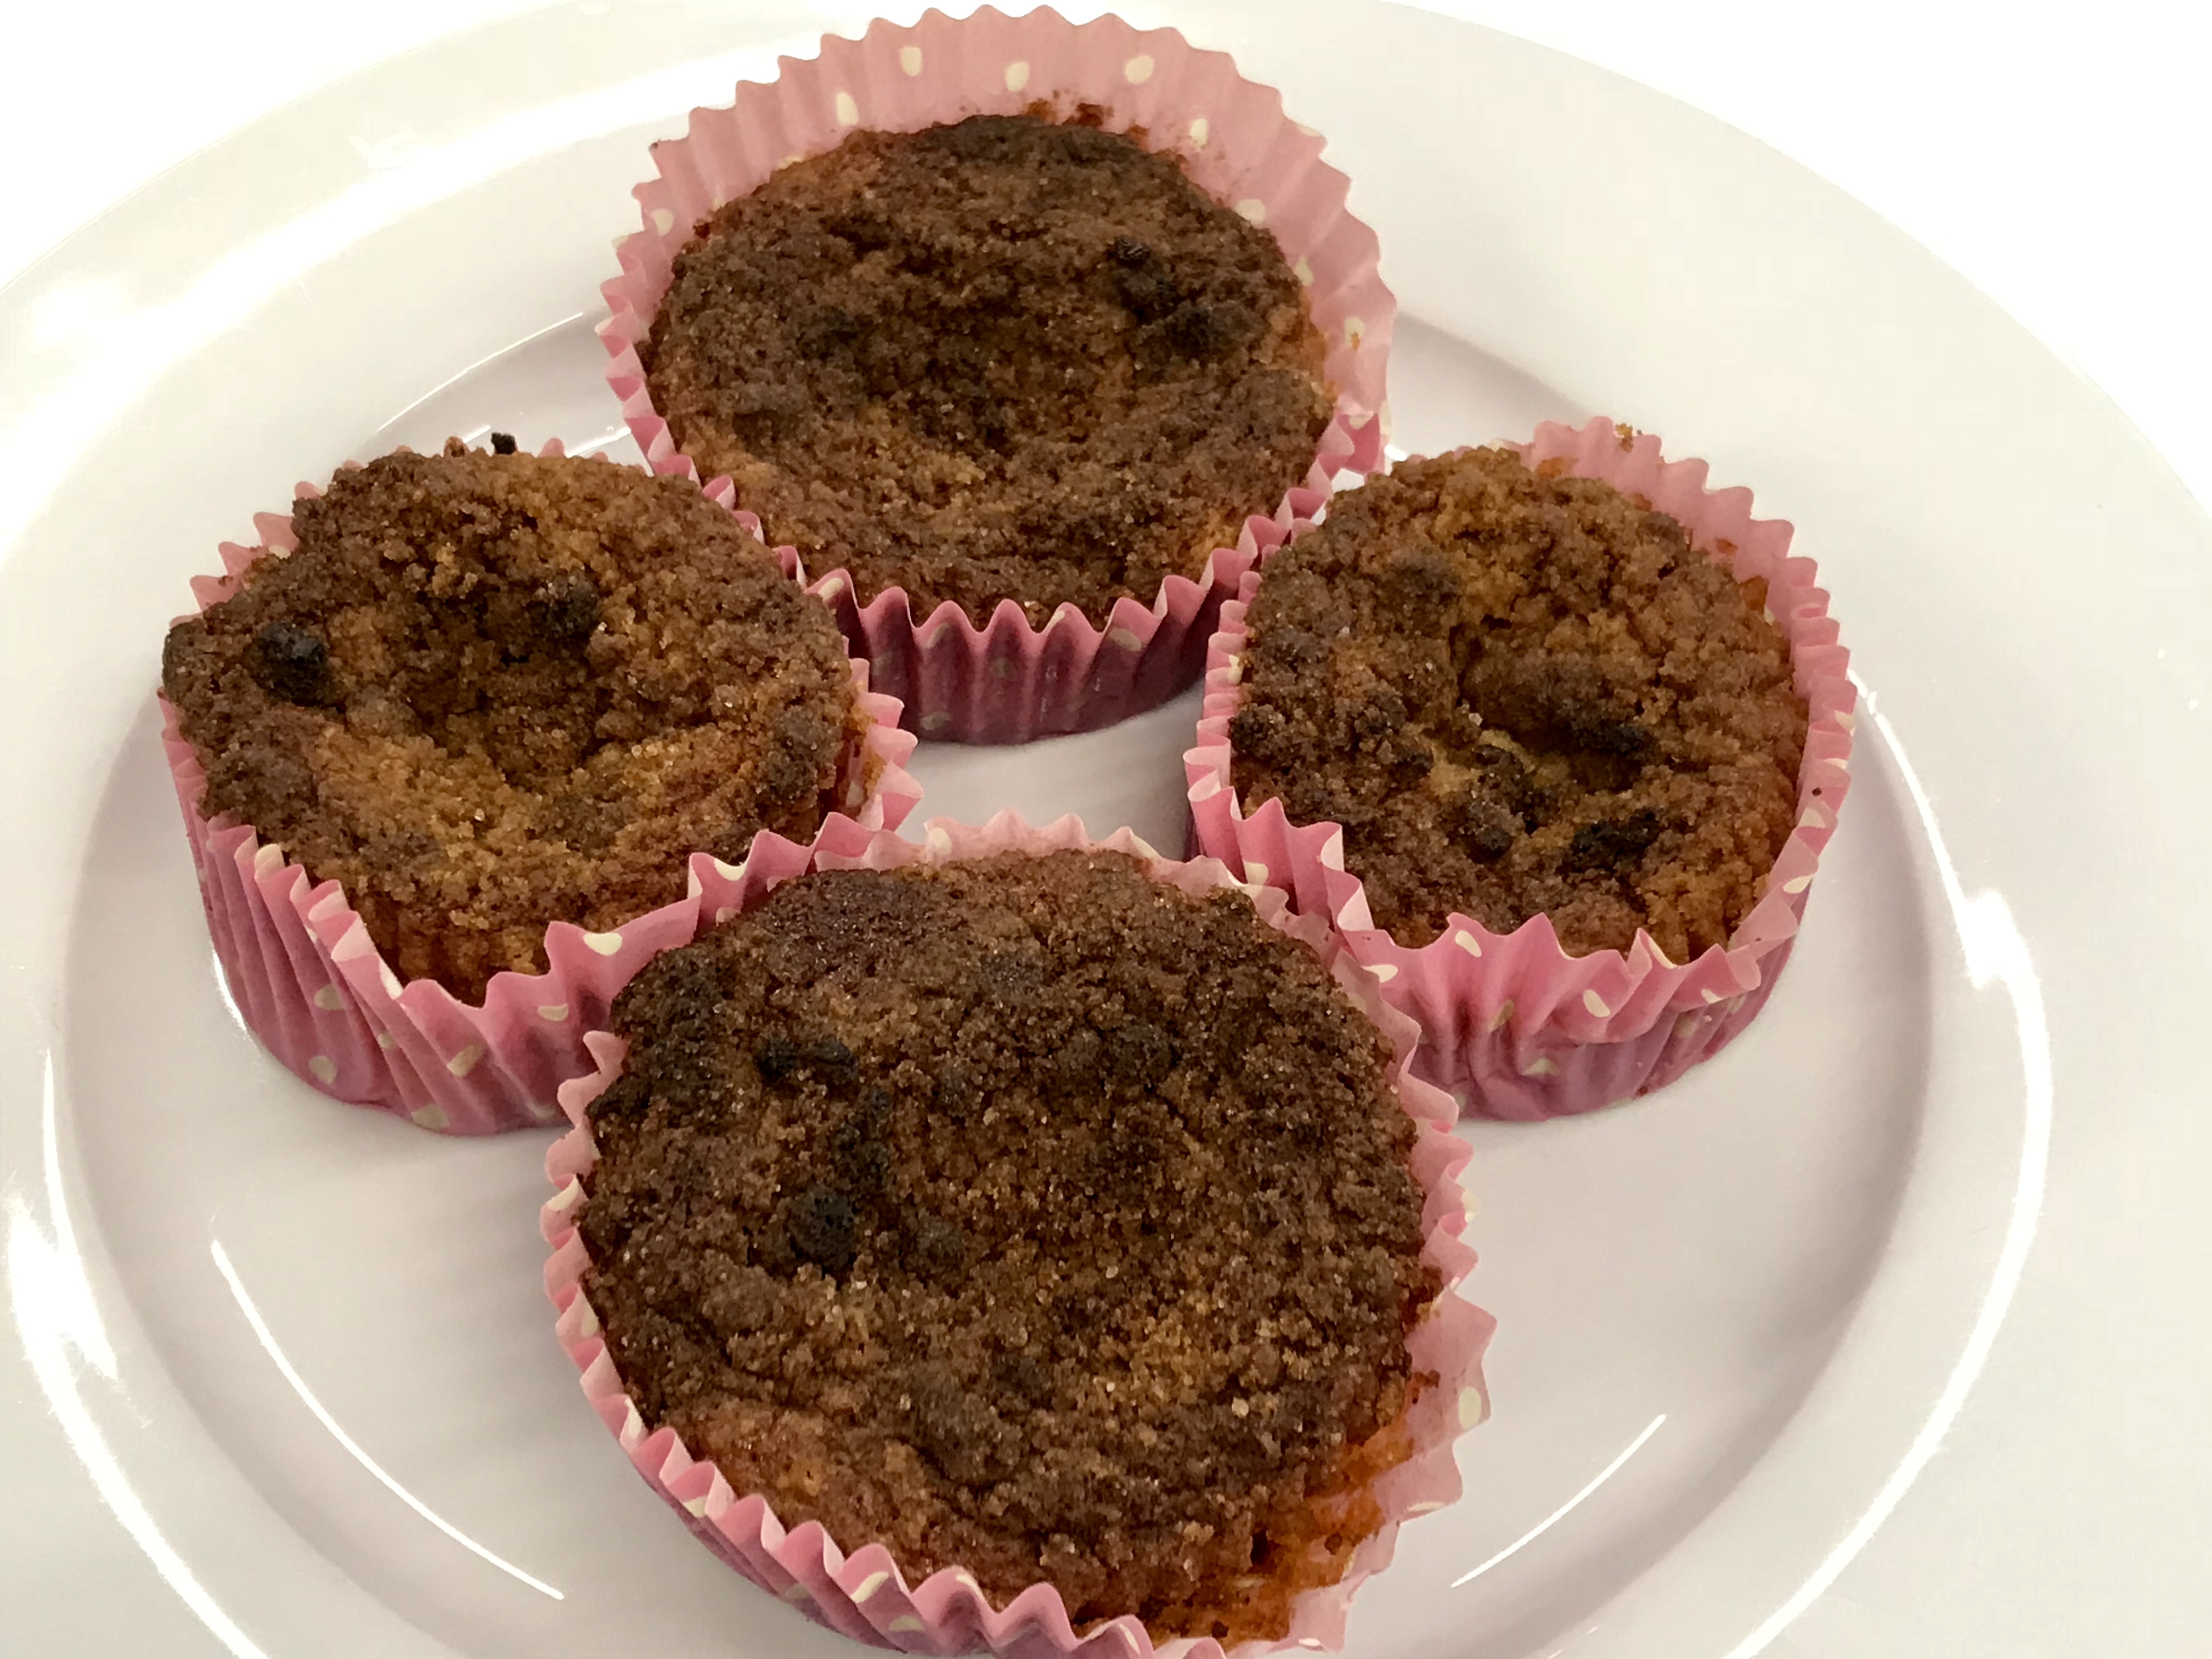
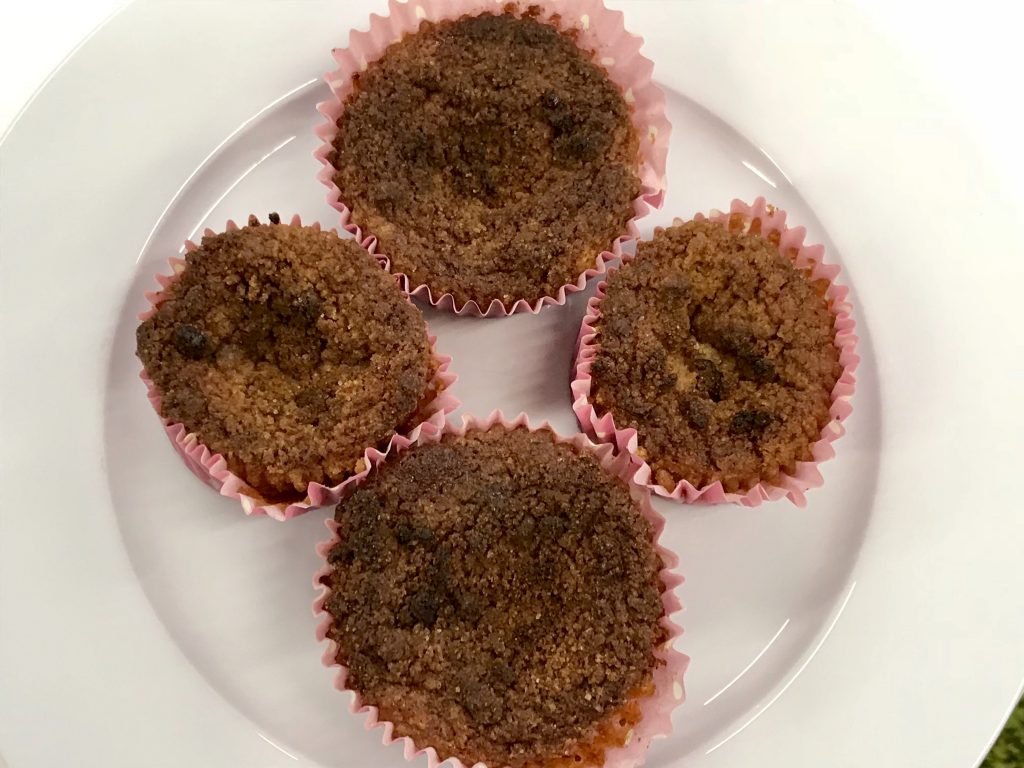
I wanted to try something that was different than the classic pumpkin pie. The crumble on top was a good idea. It did not look as pretty as I would have originally hoped that it would. The pie absorbs a lot of the crumble when it rises, but the crunch is still there and it compliments it nicely. The trick with this recipe is to allow the crumble to get dark, but then cover it with aluminum foil so it does not completely burn. It is a hard blend to meet, but in completing this again, I would suggest putting foil on it from the beginning, and see what happens. These are not the prettiest things I have ever made, but they have gone down as such a hit that I decided to write up the recipe.
Servings and Storage
Serve these cold. They will last about 5 days in the fridge in an airtight container.
Servings: 24
Crustless pumpkin pies with crumble
A wacky twist on the usual pumpkin pie recipe. This recipe blends the English - with crumble, and the American - with the pumpkin pie.

Ingredients
- 850 g pumpkin puree
- 570 g evaporated milk
- 340 g granulated sugar
- 4 eggs
- 2 tsp cinnamon
- 1 tsp ground ginger
- 1 tsp salt
- 1 tsp ground nutmeg
- ½ tsp ground cloves
- ½ tsp ground allspice
- ----
- 2 cups flour
- 1 ⅓ cup salted butter
- ½ cup granulated sugar
- ¼ cup brown sugar
- 1 ½ tsp cinnamon
Directions
- Step 1 Preheat your oven to 220 degrees c, or 200 degrees c if you have a fan. I suggest the fan because it will give you more of an even bake.
- Step 2 Prepare your pumpkin pie mixture: In a large bowl (it fills up much more than I had originally expected) crack your eggs and whisk. You want to lightly beat them for about 5 minutes, or more. The result that you want is not a light colour, but enough air bubbles to help it rise. The eggs do not need to be scientific, use your judgement.
- Step 3 Add your sugar and continue beating. Once you are happy with the result, add in your pumpkin, salt, and spices. Use a large metal spoon (or normal sized depending on your tools available) to blend it well together. Add your evaporated milk and continue stirring. Put the mixture to the side.
- Step 4 Prepare your crumble: I have put at the top a standard crumble recipe. However, the trick that I find is you just add butter, flour, sugar, salt, and cinnamon until you have the right texture and taste. This method does usually end up with me having much too much crumble, but then you can do other things with it. You can freeze what you don’t use and save it for later.
- Step 5 This original recipe had a special substitution that I did not include in the ingredients and that was the use of a buttermilk pancake mix rather than flour. I know, I had no flour in the house and I have no idea how I got to that point in my life. But fun fact: pancake mix makes great crumble.
- Step 6 Line your muffin tins with cupcake liners. I used paper and it did not have any issues in the tin, and the mixture came away easily (there is a caveat to this that you will see in the chilling process). Foil liners will work as well.
- Step 7 Fill the liner ⅔ full, or ¾ full (photo to show) of the pumpkin pie mixture. You need to leave space as these will rise in the oven. Ultimately they fall back afterwards, but the rising needs to be accommodated for. Fill the rest of the liner with your crumble.
- Step 8 Put your muffin pan/pans (depends on your oven size) into your oven and bake for 25 to 30 minutes. That being said, you need to put a toothpick into the centre of one and if it comes out clean, it is done.
- Step 9 Keep an eye that the crumble doesn’t burn and have some aluminium foil at hand for when it starts looking a bit dark and you need to help it out.
- Step 10 When it comes out of the oven put your tins onto cooling racks. After about 15 minutes. Take the pies out of the tins and let them cool in the fridge. I have found that they get condensation on the outside of the liners and need to be more rapidly cooled so that the paper liner does not tear.
Enjoy.


