These biscuits are designed to be made as many or as little as you want. Which is essentially what you want in this scenario.
I have designed them to be as a gift for valentine’s day, but they are also popular for baby shower gifts, bridal shower gifts, children’s birthdays, Tuesdays, etc. Or, if push comes to shove, your afternoon tea biscuits.
I have done the research and apparently chocolate covered Oreos can last up to 3 weeks. You need to keep them in an airtight containers in a cool dark place. Ideally you want to have an even temperature location, that is not too hot. Do not automatically assume that the fridge is the ideal place as it will most likely discolour the biscuits.
What is a Double-Dip Oreo Roulette
I just realised that I should probably actually explain the concept behind this.
You need to choose more than one flavour of Oreo (you will see that I have chosen 3 flavours, and this is because I want to dip quite a few). You will then dip them once in white chocolate, and then once in milk chocolate. That way you won’t know which flavour you are eating until it is too late (hence the roulette).
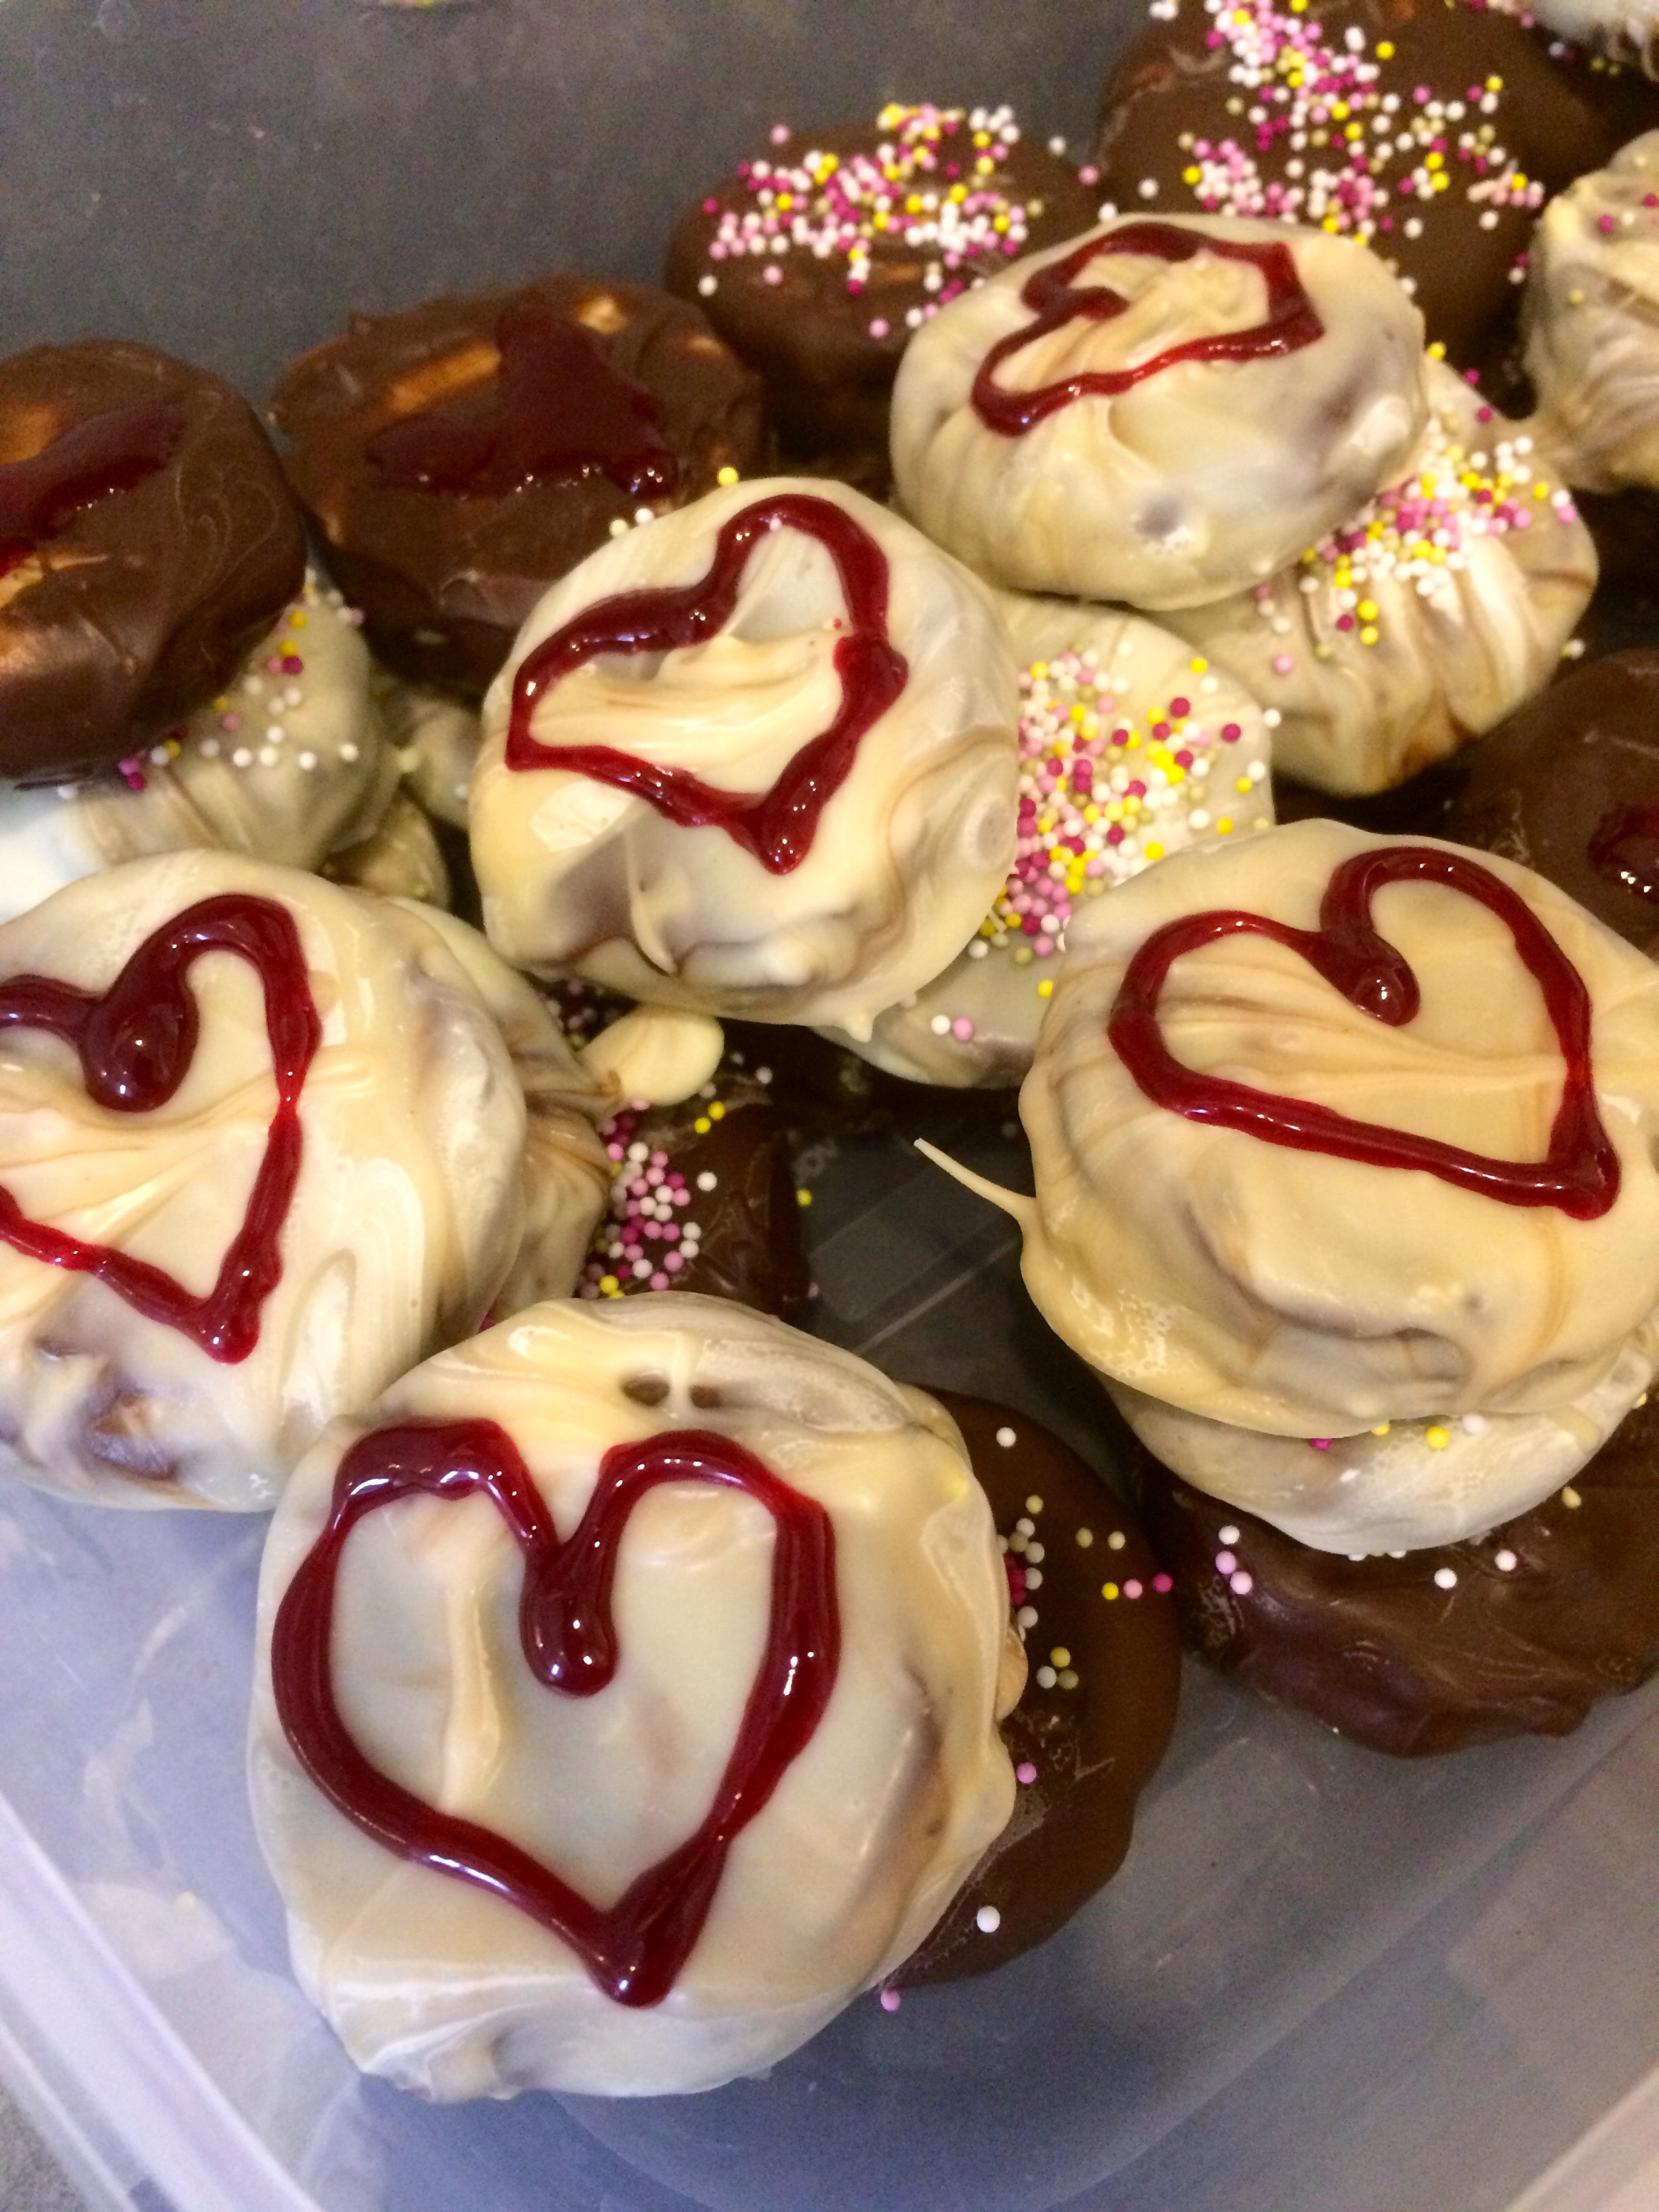
However, upon reflection, I decided that the Oreos will alternate between white chocolate and milk chocolate on the outside. As these will be decorated with sprinkles and gel icing hearts.
Servings and Storage
I have read online that you can make these up to 3 weeks in advance. You want to keep these in an airtight container in a cool dark place. You don’t want to put it into the fridge as it will discolour the chocolate.
Servings: 42
Calories per serving: I seriously don’t want to check
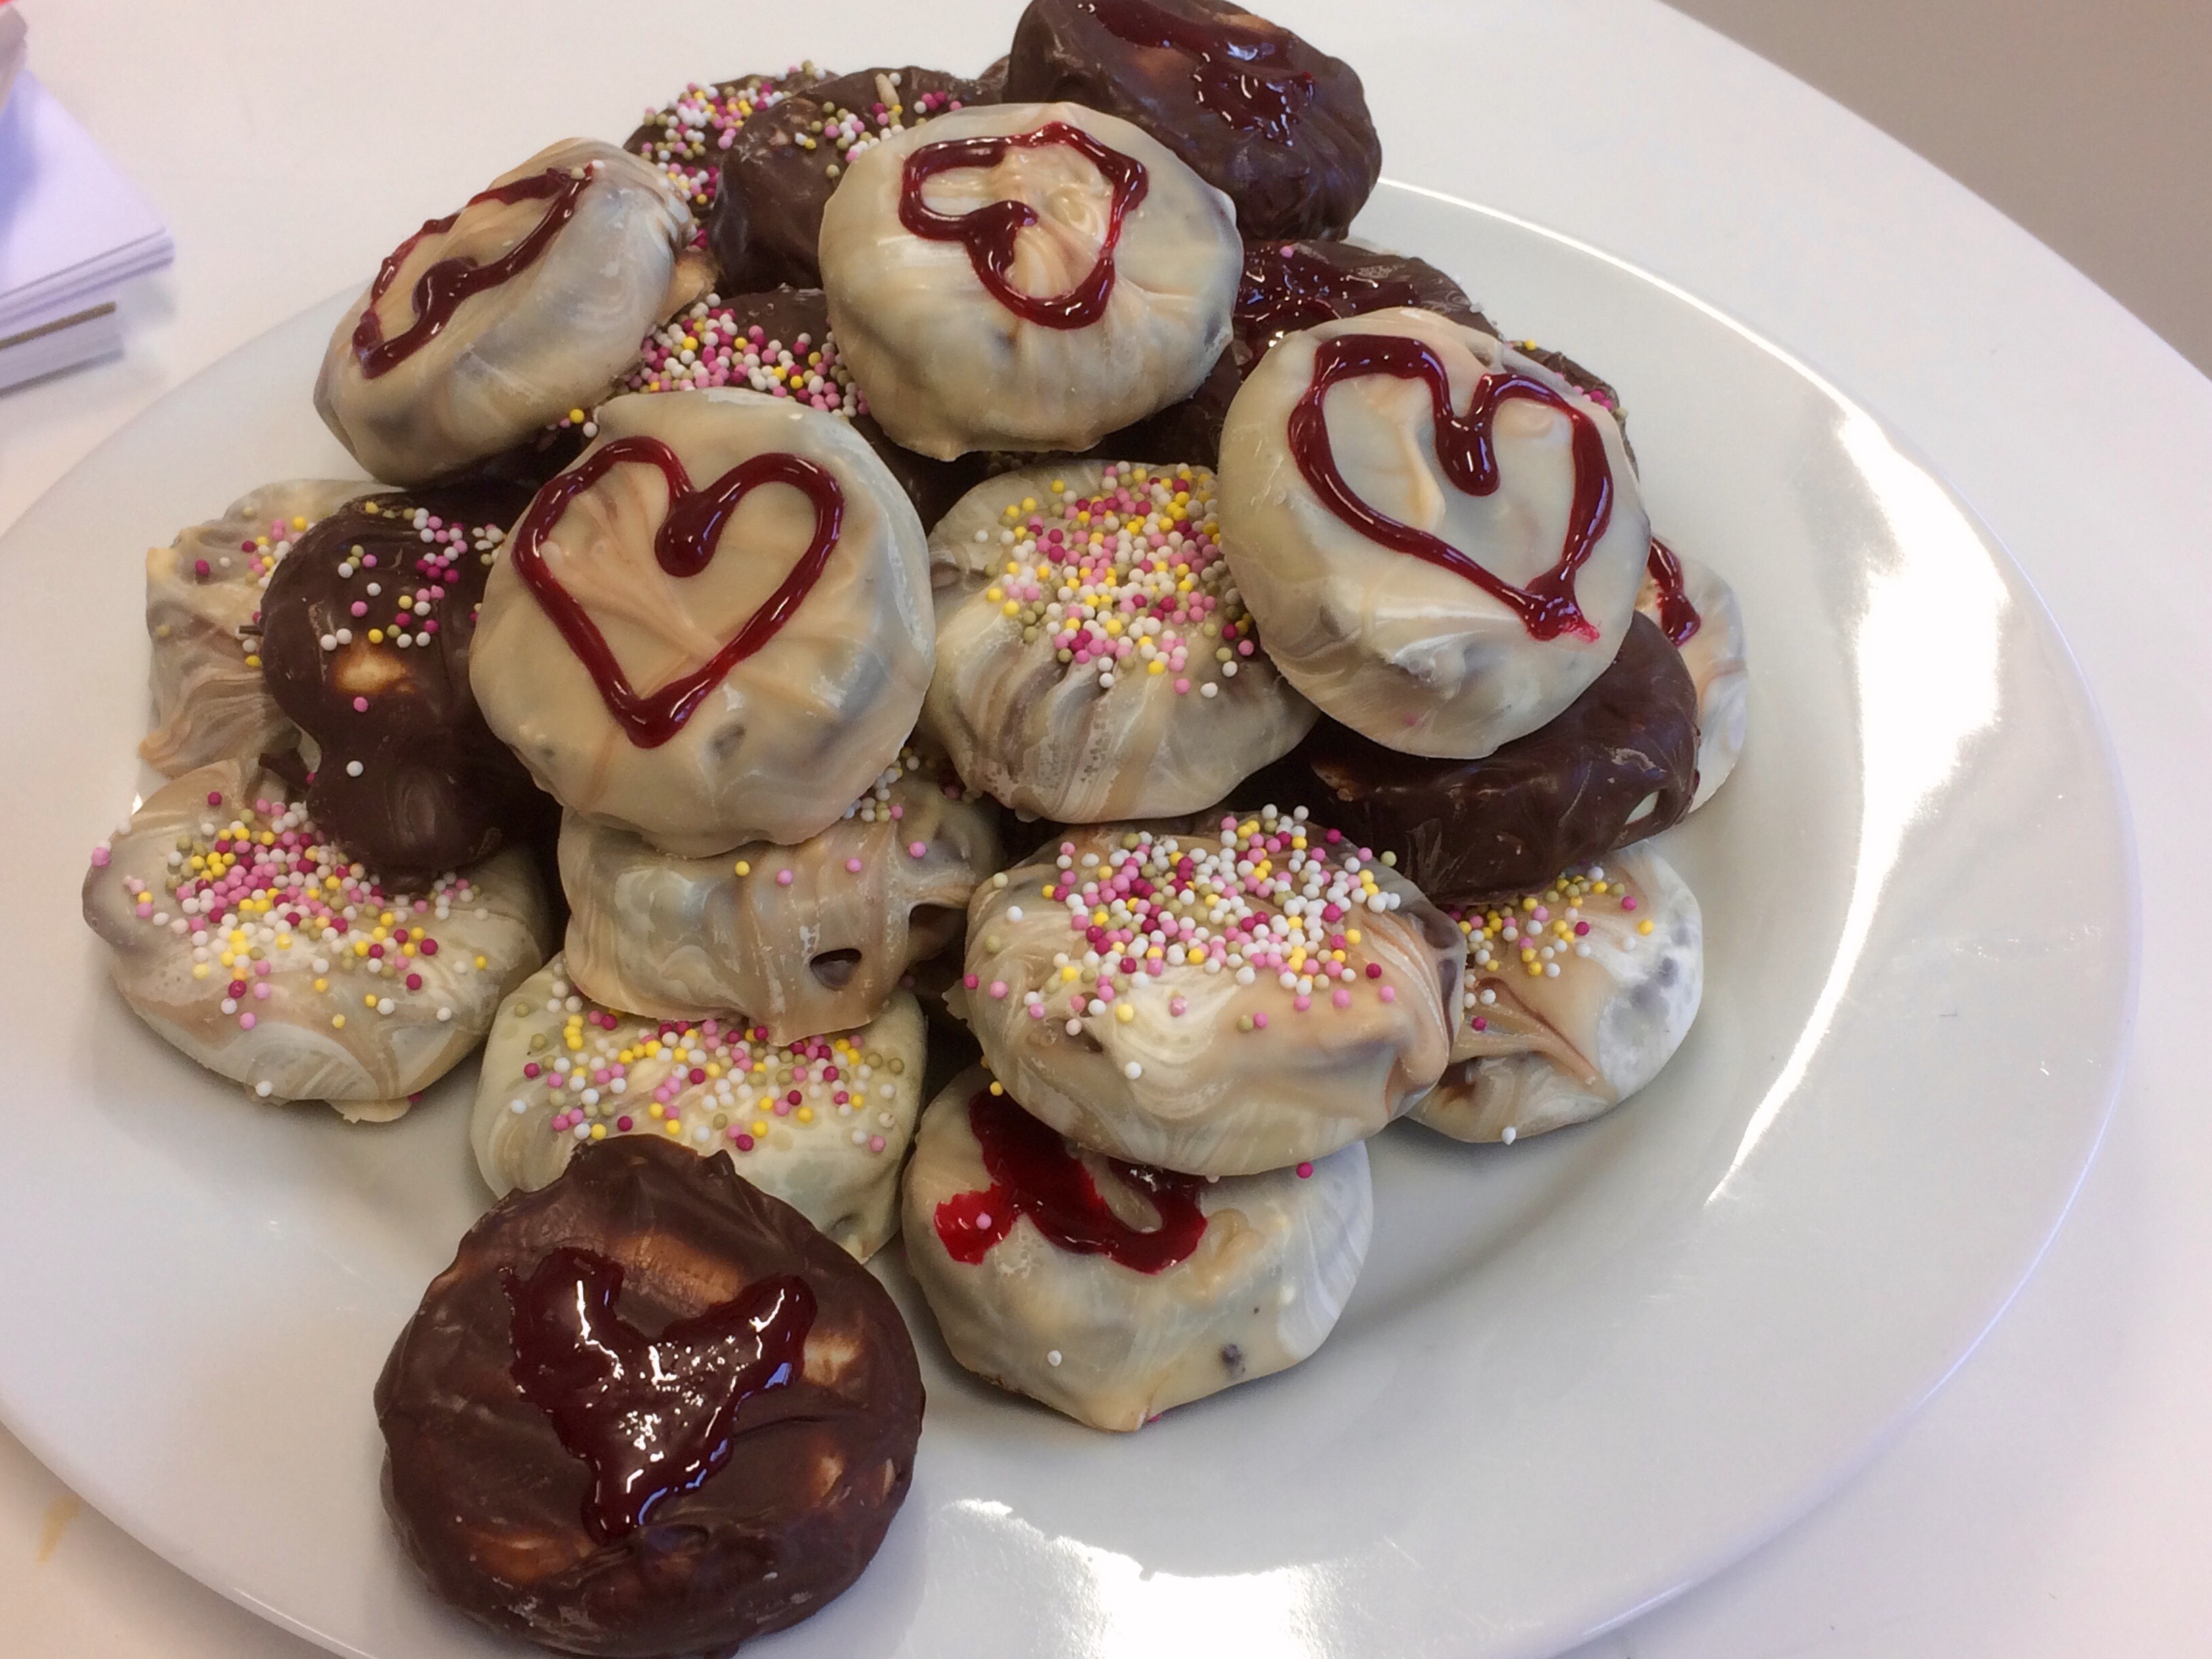
Double Dip Oreo Roulette
What flavour will you get? Dipped once, and the Oreos are delicious, dipped twice, and they are decadent!
Ingredients
- 500g White Chocolate
- 500g Milk Chocolate
- 154g packet of plain Oreos
- 154g packet of Strawberry Cheesecake Oreos
- 154g packet of Mint Oreos
- A weency bit of butter
- Multi coloured sprinkles
- Pink icing
Directions
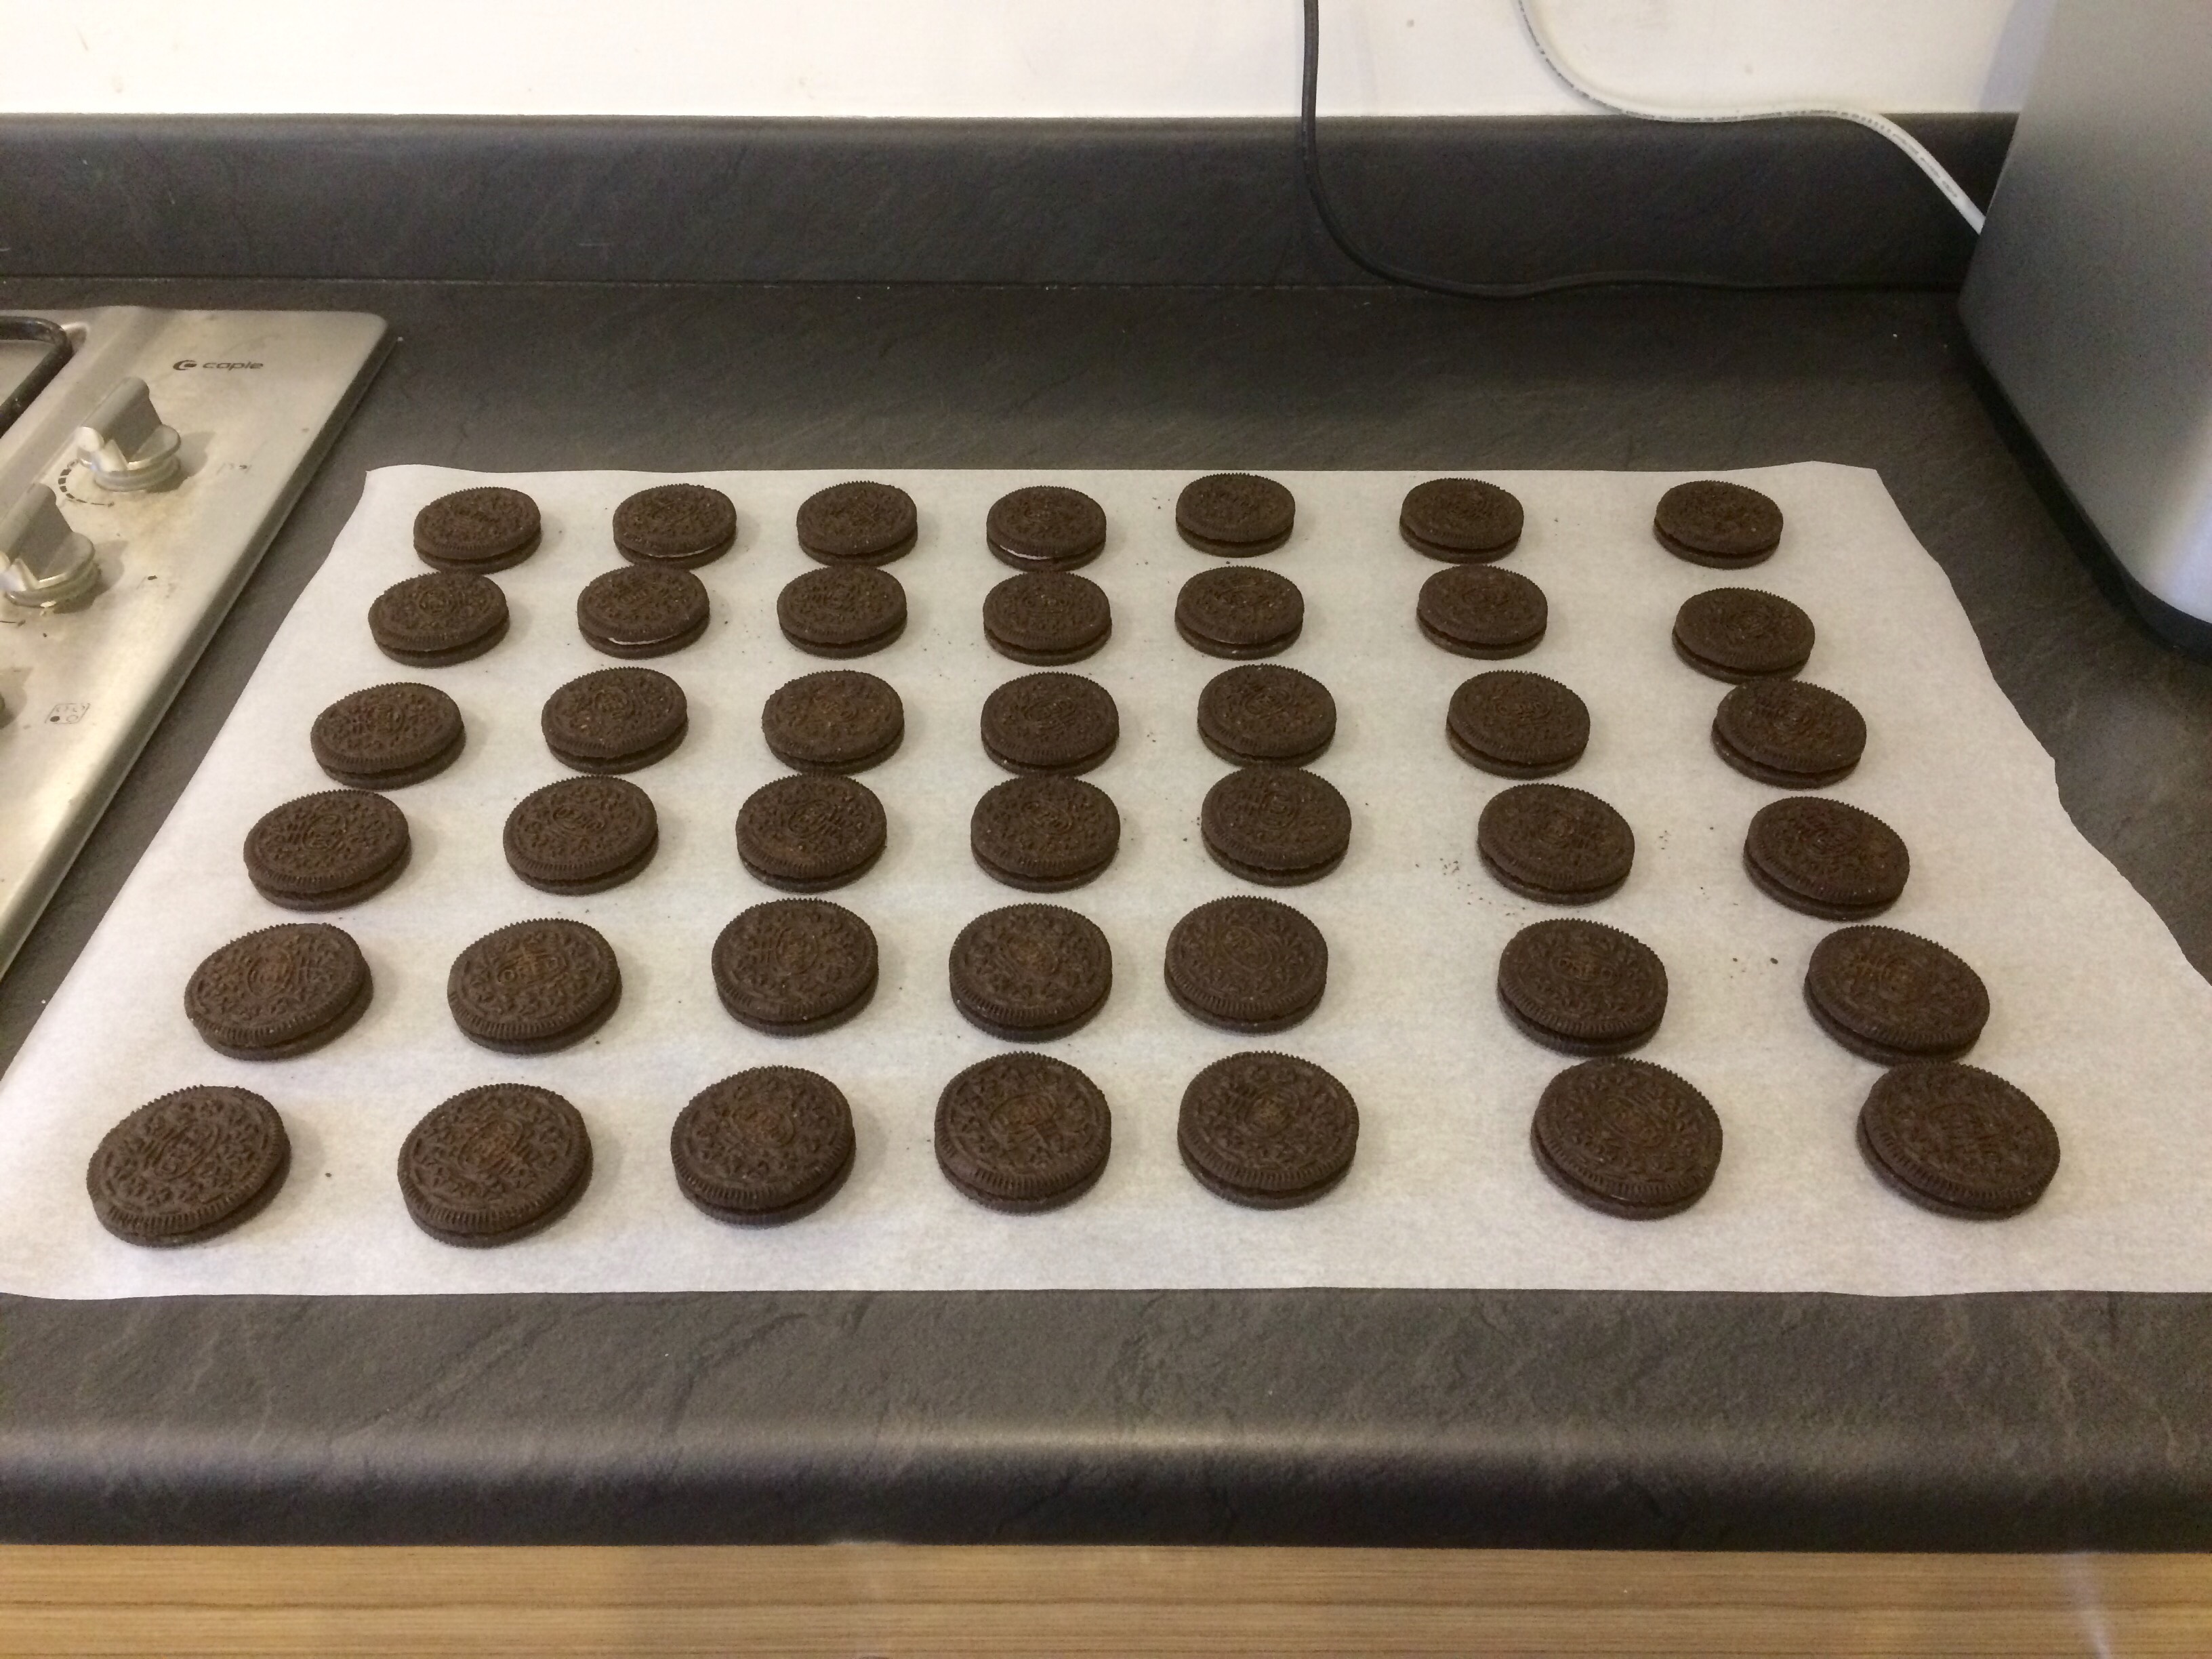
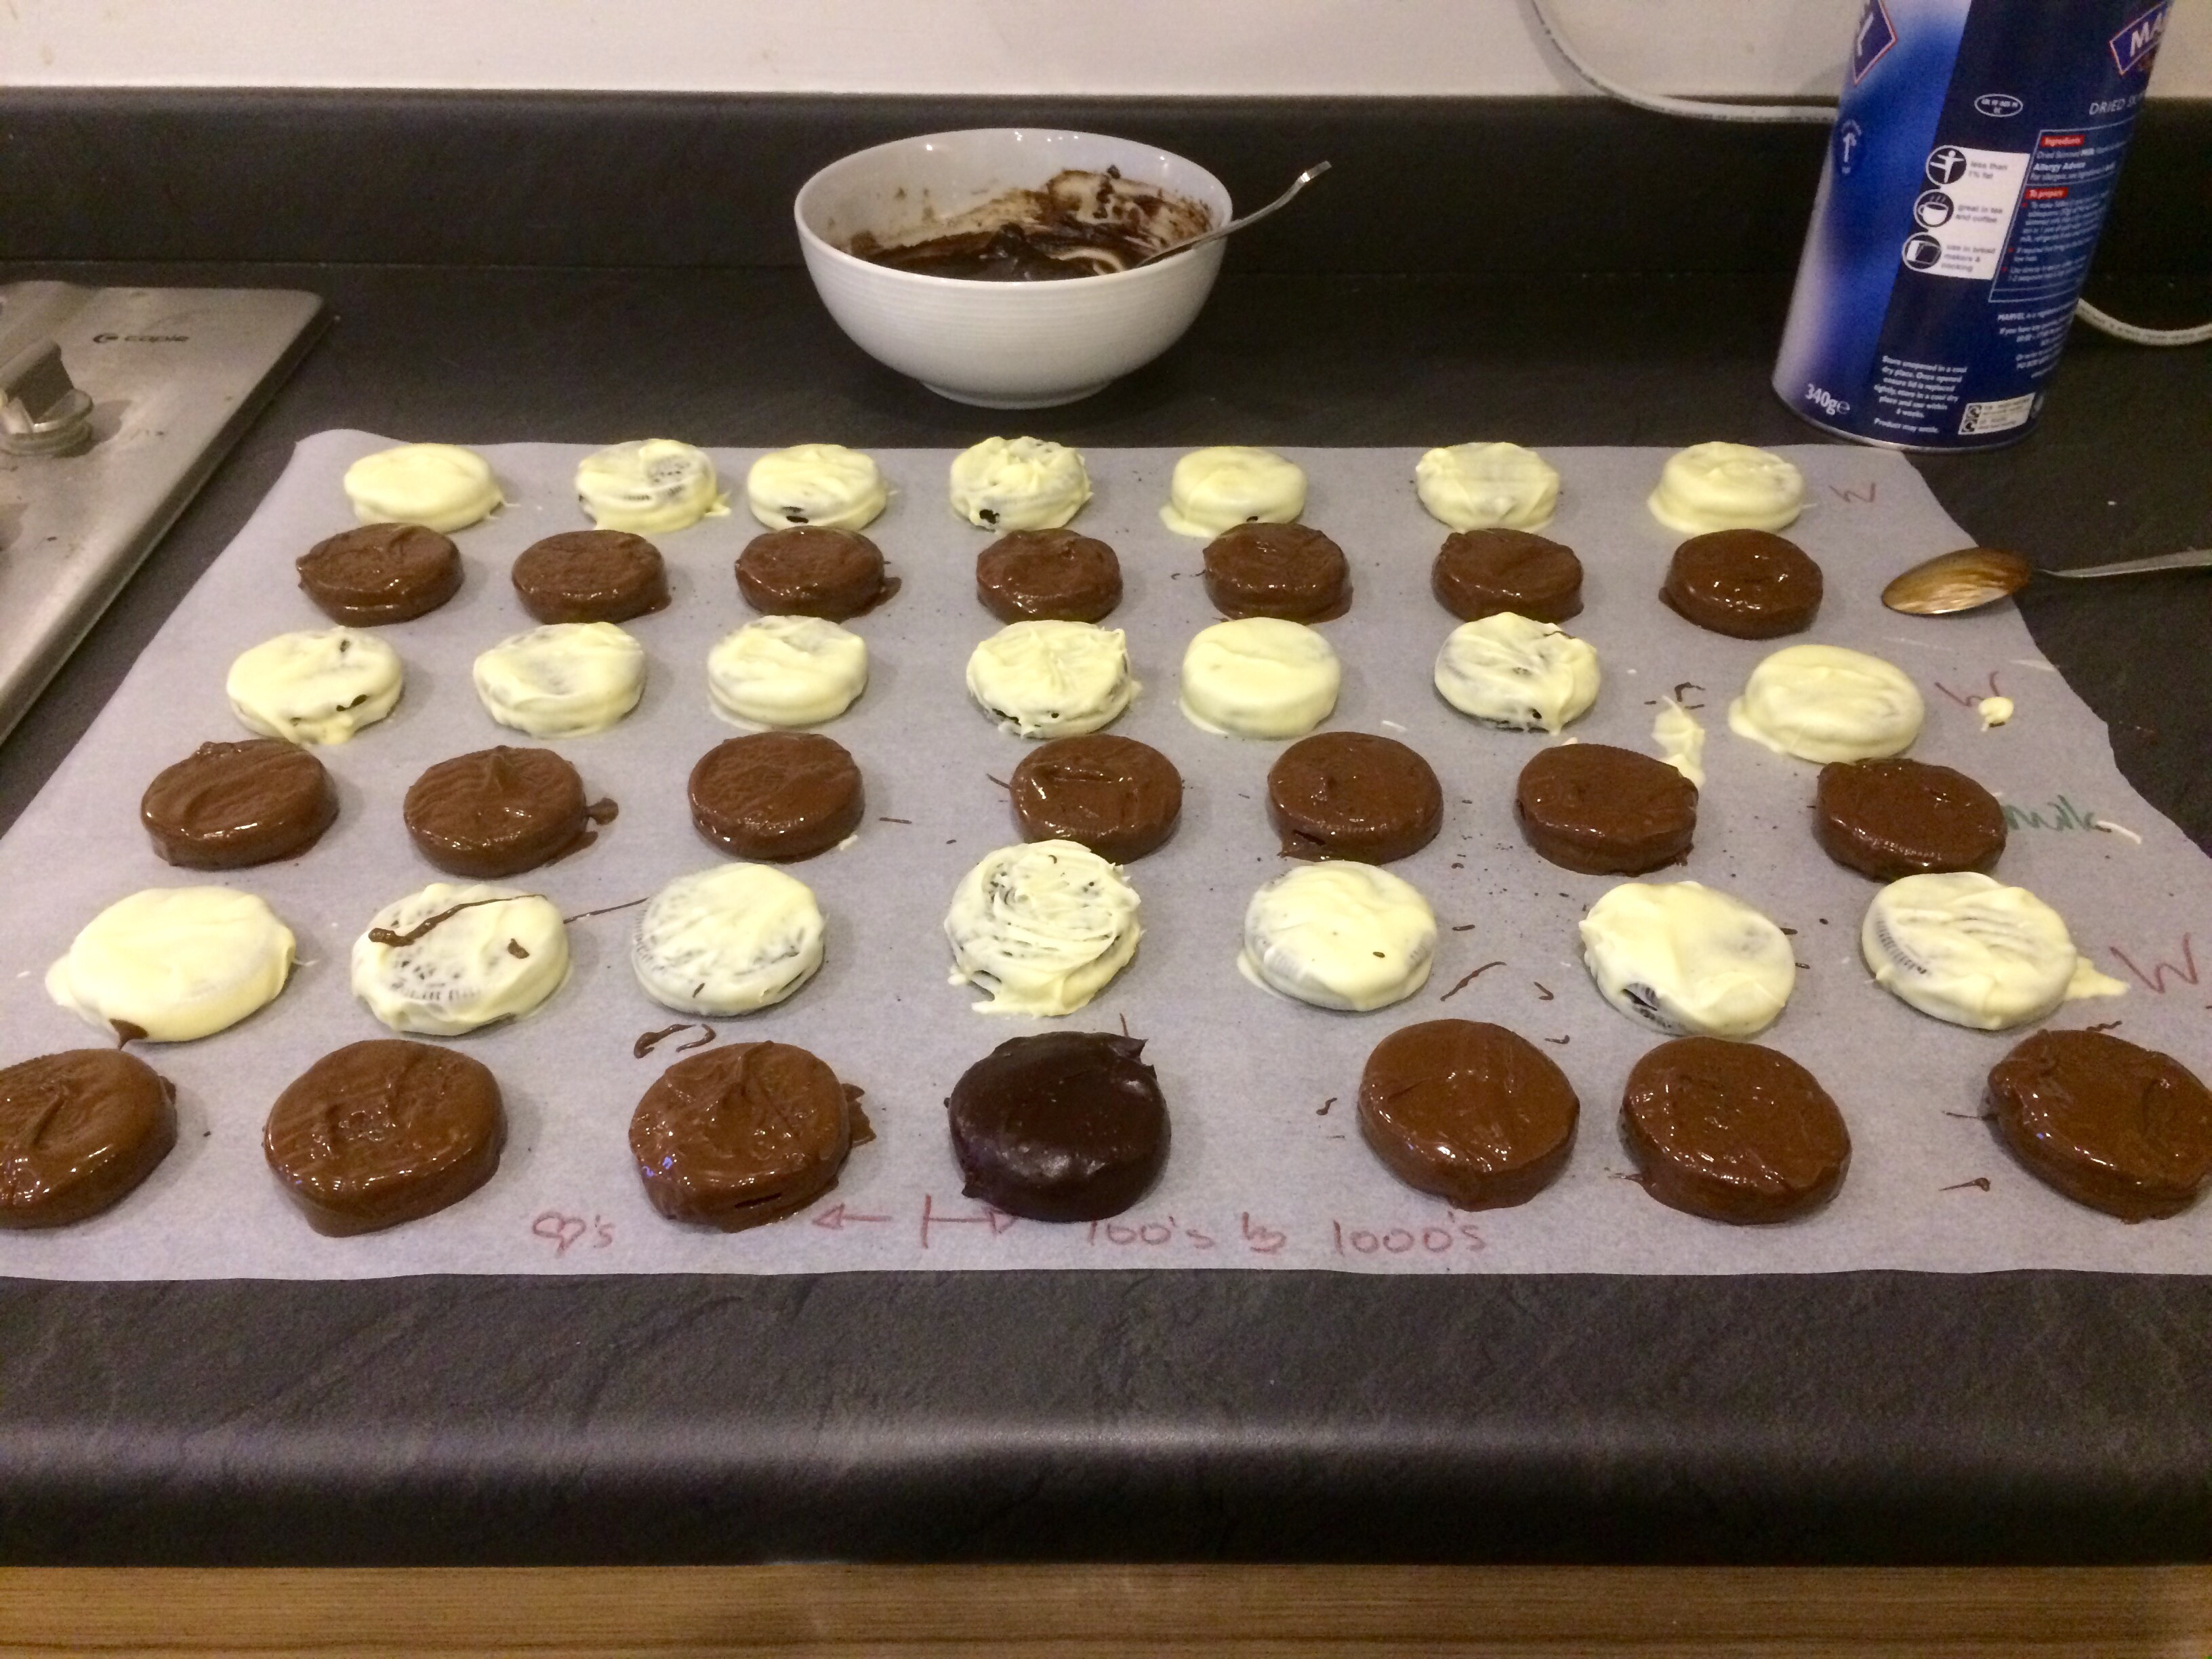
- Step 1 Organise out your Oreos. I put down wax paper and had 2 rows of 7 for each flavour (fun fact: there are 14 Oreos per package). 1 row of each flavour will be white chocolate, then the second row will be milk chocolate. I wrote on the paper to help me remember which will be which. Then on your x axis, you want to divide it out by sprinkles or icing.
- Step 2 Melt 225g of your white chocolate in a bowl in the microwave. I have found that putting it on 30 second sprints is great and slowly melts it, which is what you want instead of burning it. Once it is all melted, all a weency bit of butter (less than a teaspoon) to help thin out the chocolate.
- Step 3 Take 2 forks and dunk in your white chocolate first Oreos. Be patient as I try to explain how I dunked them. Use the flat side of the fork to hold the Oreo, and use the 2nd fork to scrape off the excess chocolate. Put the flat side on the top of the Oreo, flip it over, and repeat the scraping on the 2nd side. Place the Oreo back onto the wax paper and repeat. I found that after 7 to 8 Oreos I found that I needed to put the chocolate back into the microwave.
- Step 4 Repeat this method for the milk chocolate. When melting the milk chocolate, use a fresh bowl, as you will want to keep your bowl for the 2nd dip.
- Step 5 I had too many Oreos to let them rest in the fridge. It will take longer to let them rest on the countertop, but it will work just as well. I found that they needed to rest for about 2 – 3 hours. You need to ensure that they have set fully otherwise you will have some serious issues on your hands.
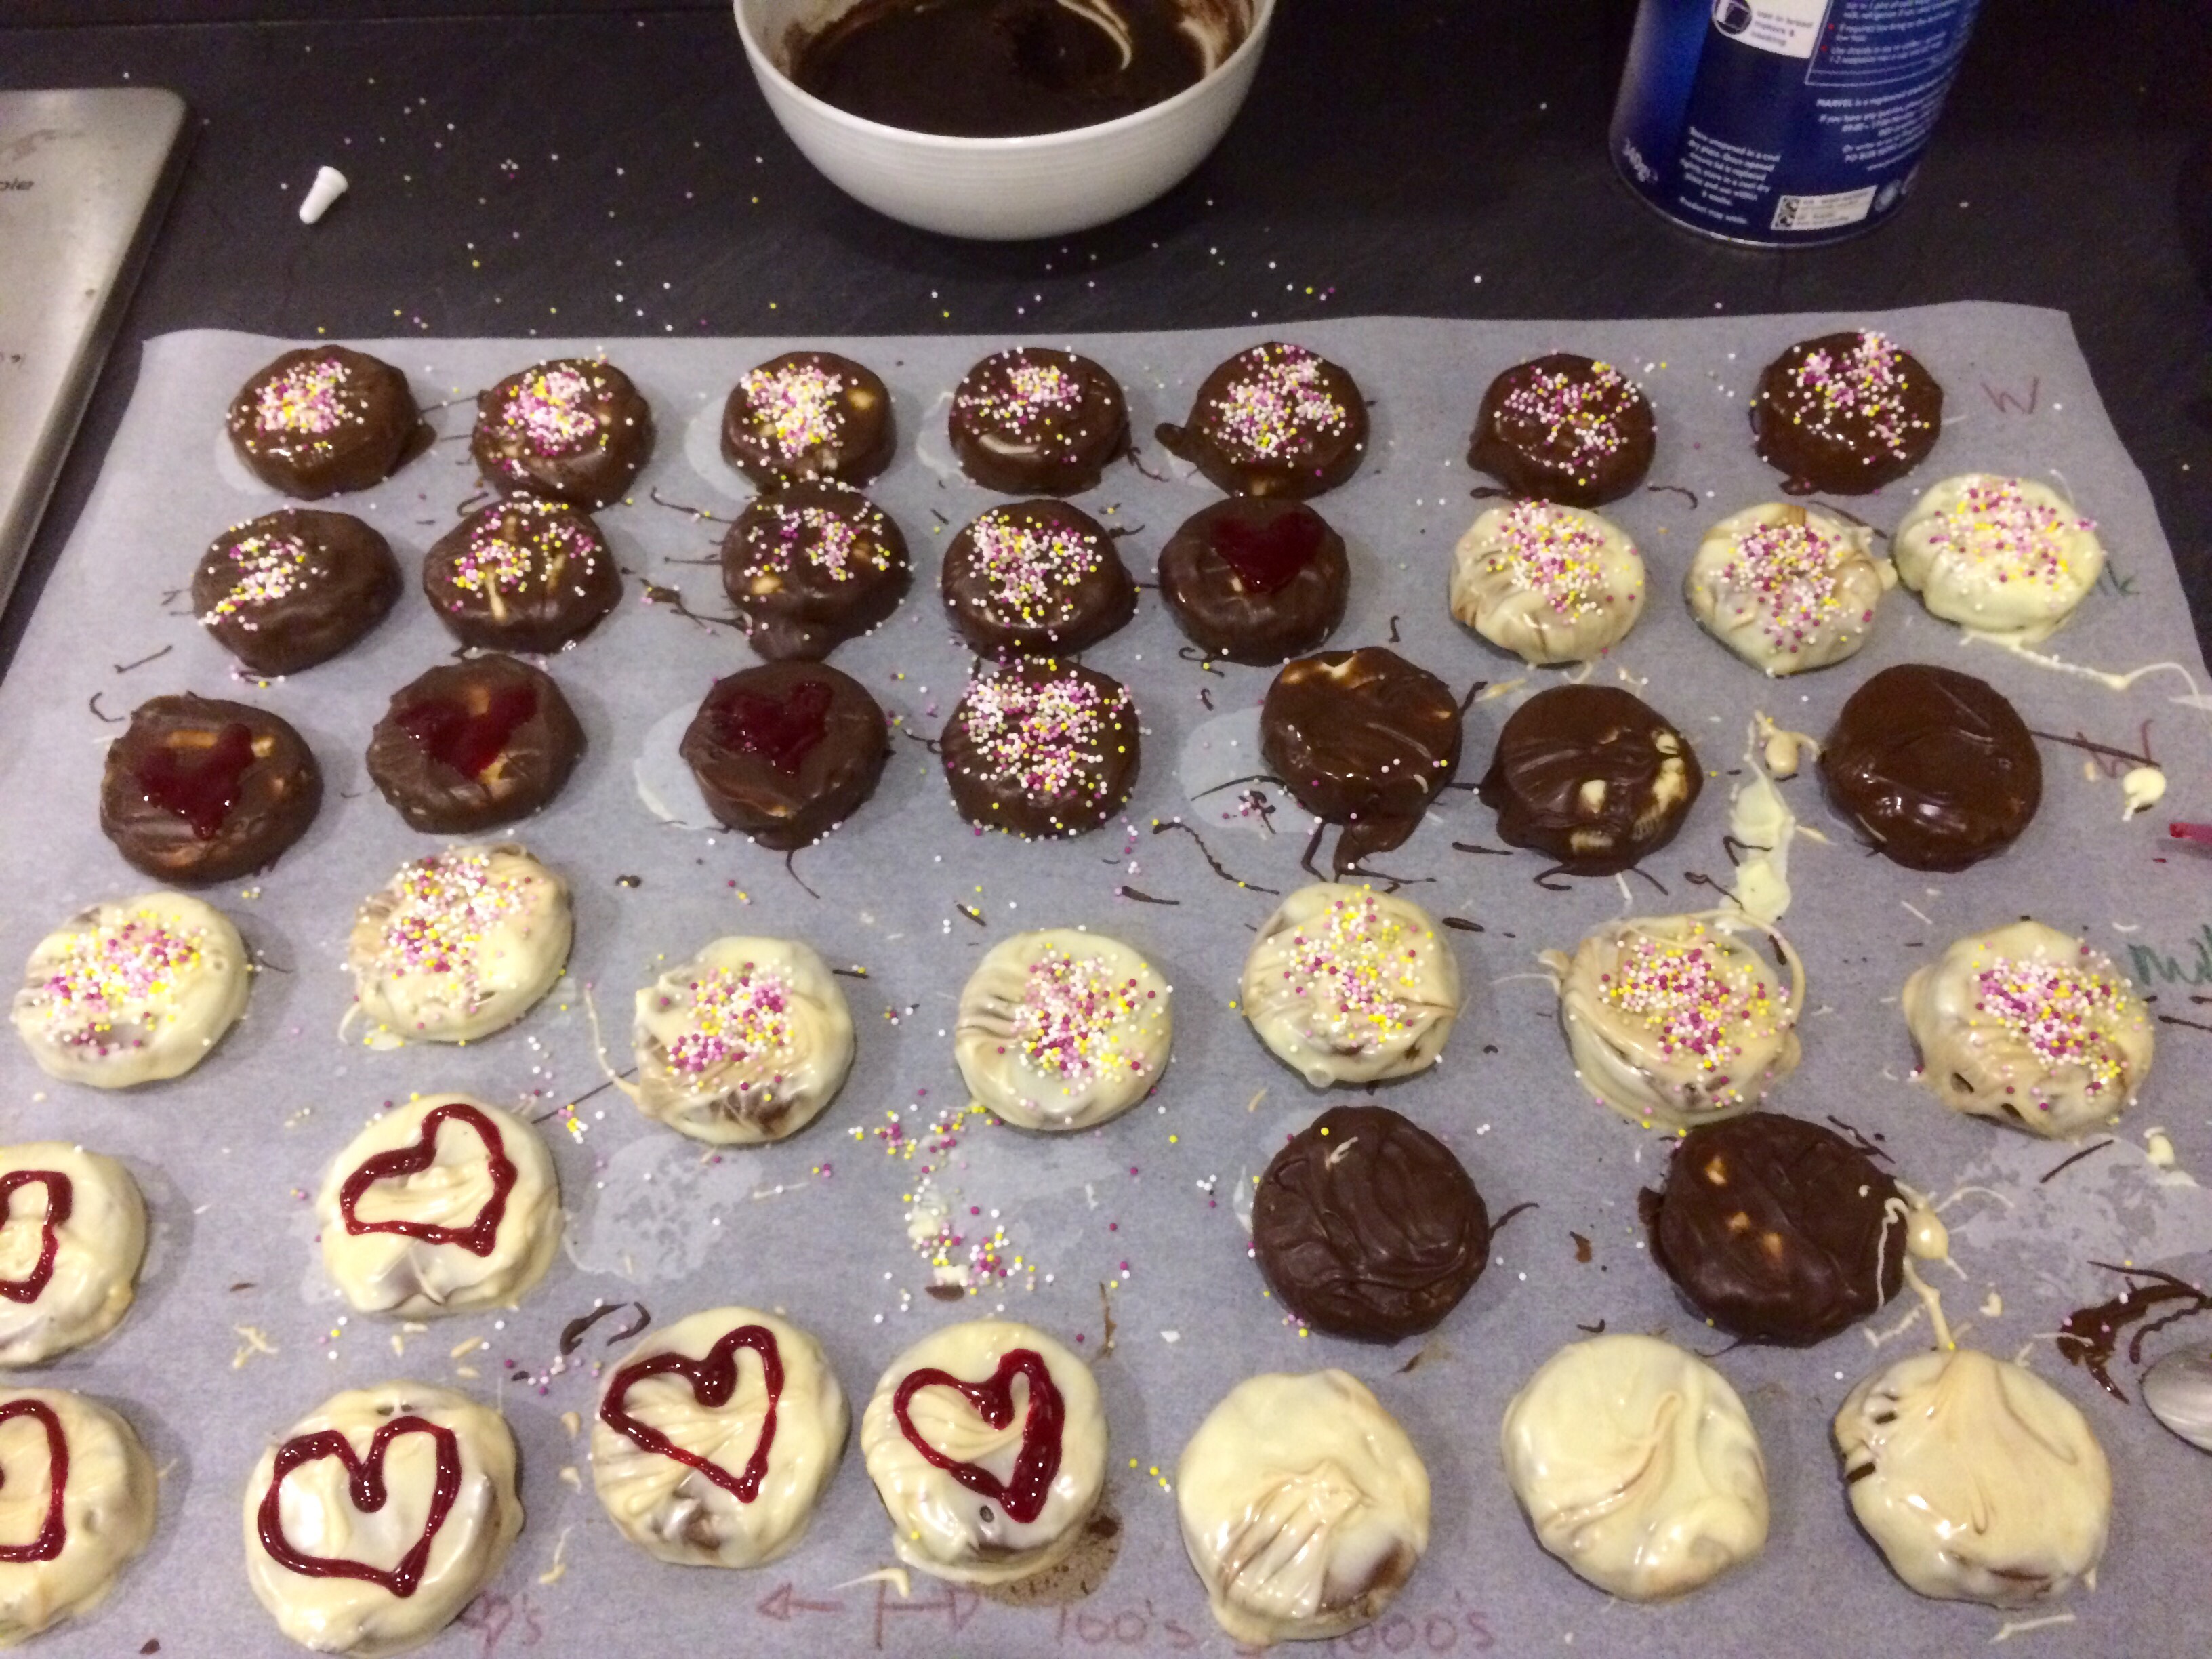
- Step 6 Once they are fully set and hard. Go back to step 2, but alternate the dip. So all white chocolate will be dipped in milk chocolate and vice versa. Things to note: I found that the milk chocolate still melted a little bit in the white chocolate, but it gave a pretty marbling effect. As well – you need to put the sprinkles on as soon as possible. I found that after all of one type of chocolate was dipped, I then put the sprinkles on. If the chocolate is not wet, they won’t stay on the biscuit. The icing is not as finicky, and so you can put it onto the cookie after you have completed the whole lot.
Enjoy.